
We said “farewell” to Louise on Saturday, and picked up Deborah from the Florence airport on Sunday. And on Monday we spent an interesting and informative afternoon learning how to make marbled paper.
It was actually Deborah’s idea. I had no inkling that this was a thing, and that Florence was known for it. But when Deborah mentioned it and mom and I did some online research, we learned that marbled paper production has a long history in Florence and that the variety of colors and patterns were myriad.
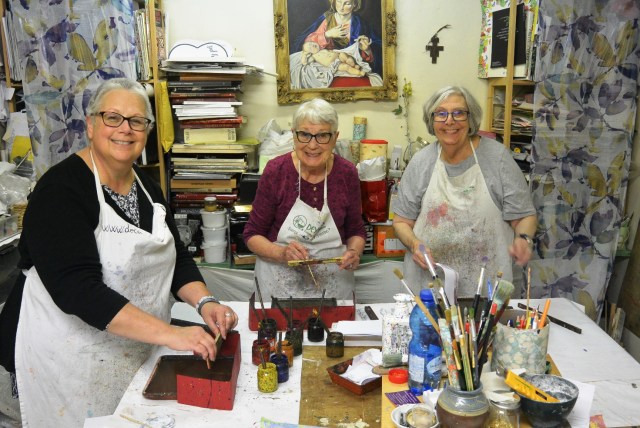
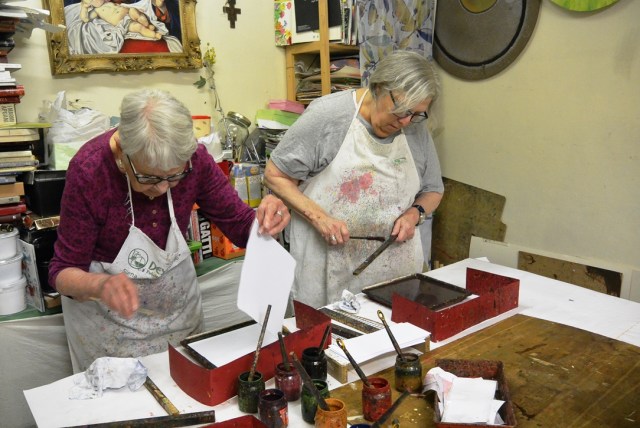
So how does one make marbled paper, you may ask? Good question. And one I can now answer, thanks to the expert tutelage of Francesca Vannini.
Francesca runs a small and fascinatingly crowded art studio in the Santa Croce area of Florence. Deborah found Francesca’s website through a Google search, and I’m happy to say that when I contacted Francesca to see if we could schedule a lesson with her, she answered very promptly and was able to accommodate our schedule.
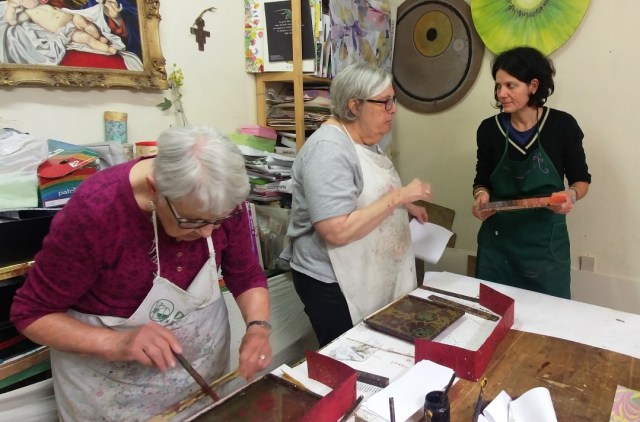
After donning our aprons (a must, since the by-product of this technique is LOTS of paint spatter), Francesca walked us through the basics of paper marbling.
You start with a glue product that is used in book binding (I think…) and mix the glue, then let it sit for a day to thicken, then you pour it into a flat tray. Then you let the glue set for another day to make sure all the air bubbles rise to the surface so you can pop them. When it comes to paper marbling, air bubbles are not your friend.
Then you take acrylic paint that has been thinned to the correct consistency (I’d guess the consistency of milk) give it a good stir in the little pot, scrape the excess off the brush, then tap the brush against a stick to spatter the paint onto the surface of the glue.

Francesca advised us to stick to four colors. I guess more colors just makes the pattern muddy.
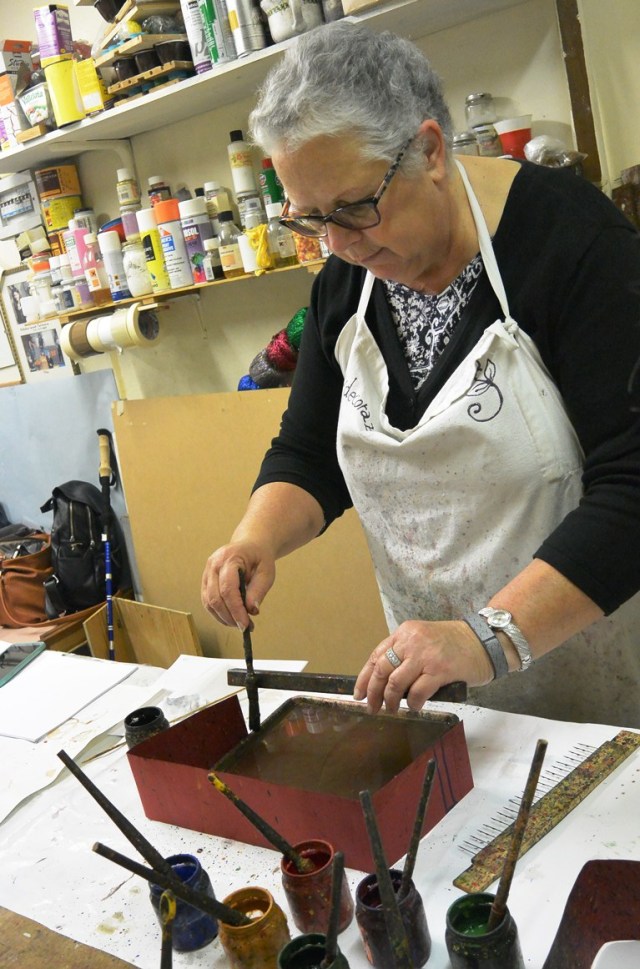
Next, you can either print the paper as is, or use that comb thing (Francesca said this is not something you can purchase, you have to make it) to drag across the surface of the liquid to make a bargello effect. More about that in a minute.

Finally, you lay the paper flat on the surface of the liquid, then lift the edge closest to you and draw the paper toward you, running it across the lip of the tray.
Then…MAGIC!
We learned four techniques:
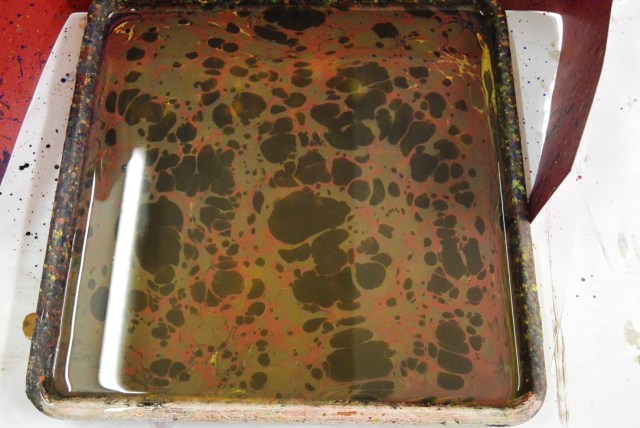
The basic splatter:
The basic comb
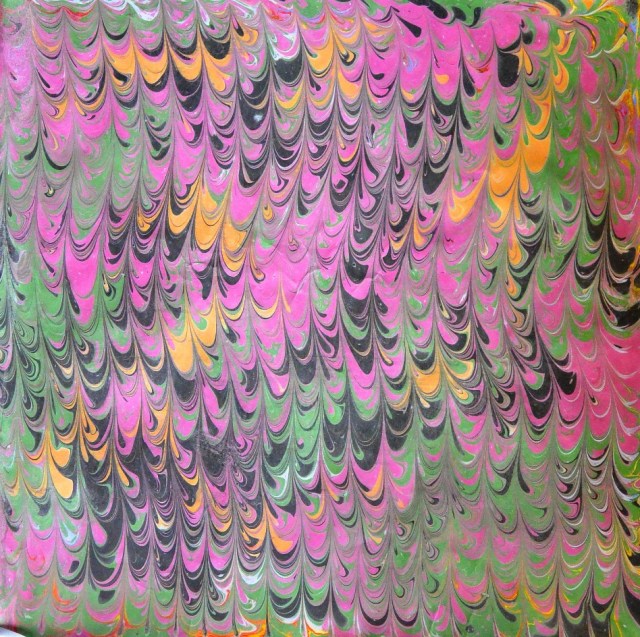
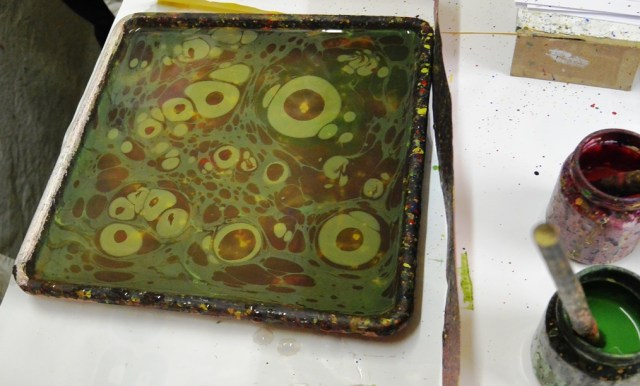
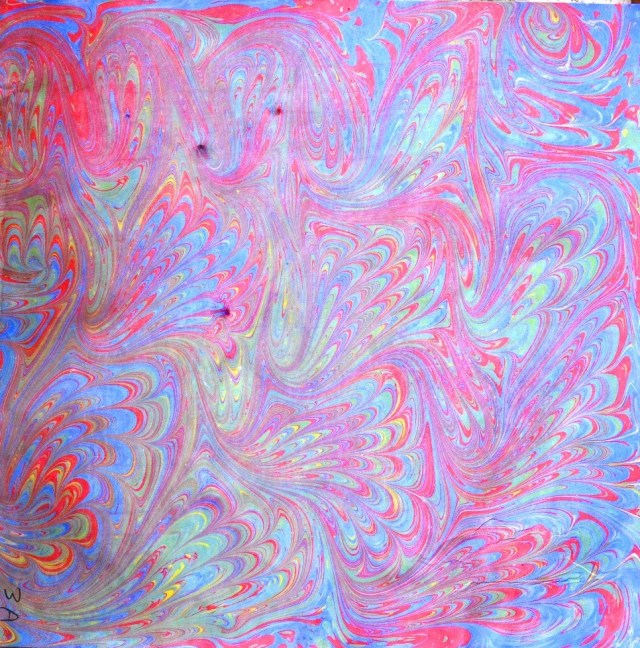
The Florentine peacock feather
And a free-form design.

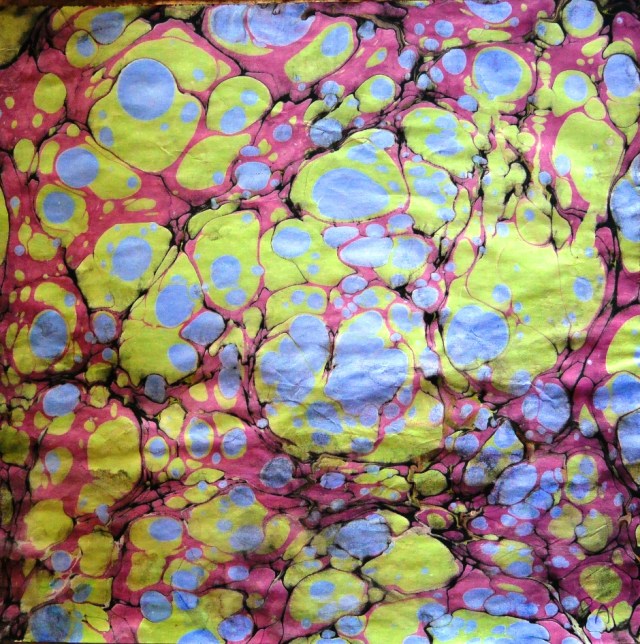
Then, because we were “excellent students!” according to Francesca, we also learned a 3-d effect.
And since Deborah has experience in paper surface design, she and Francesca chatted about other techniques and artists while Deborah printed her papers.
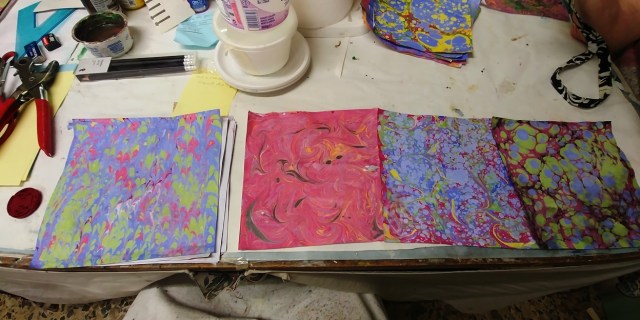
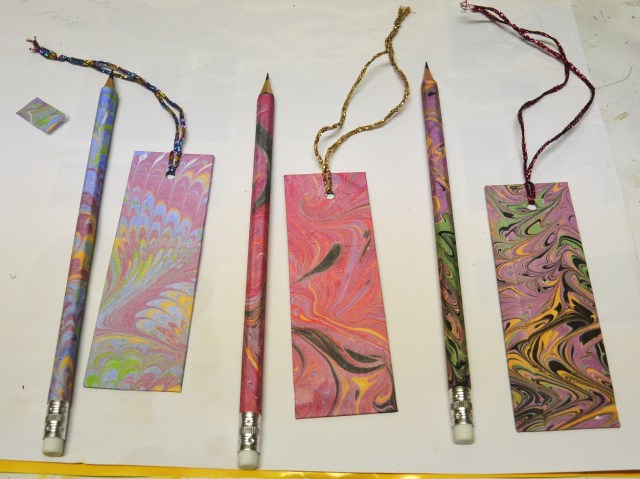
After our papers dried, Francesca told us to select one of our ten samples and she used them to help us cover a pencil and create a bookmark.
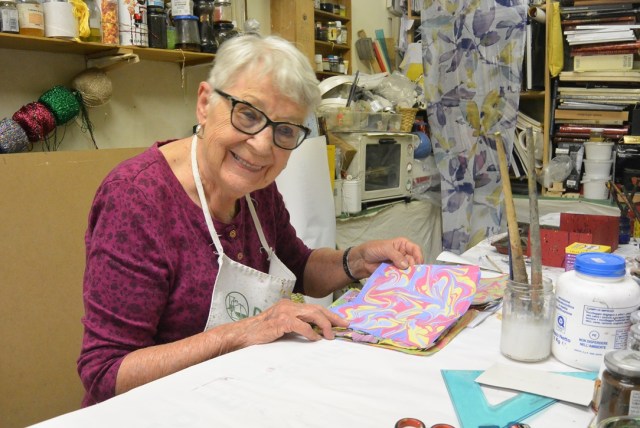
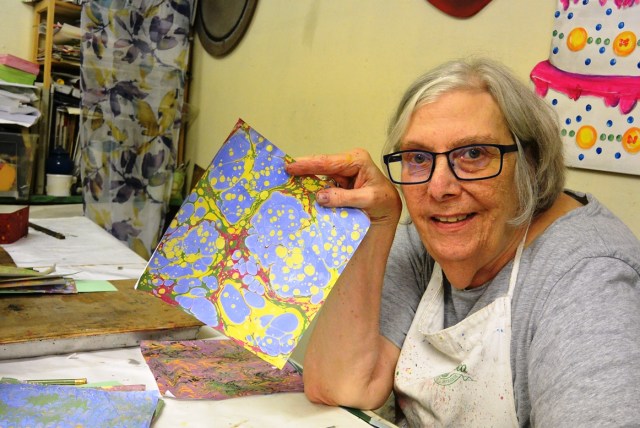
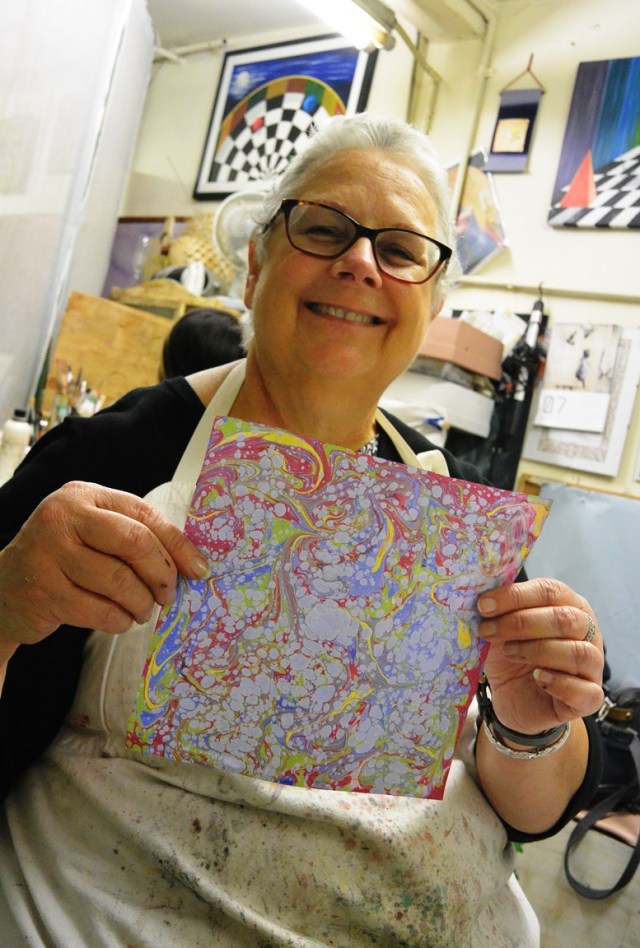
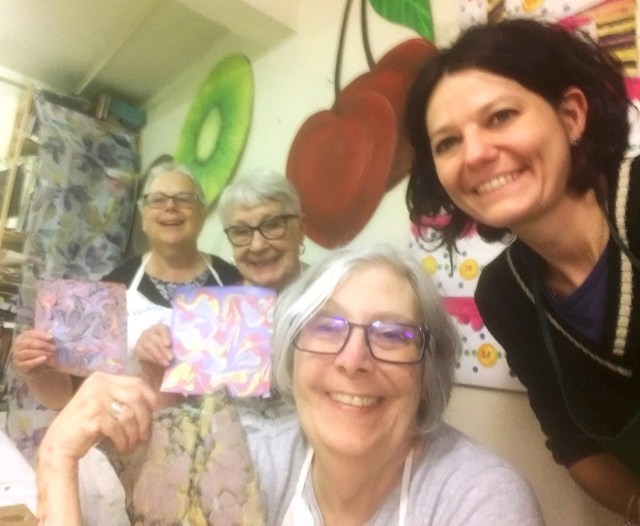
We were all thrilled with the results.
This was another fun adventure for us. Francesca was an excellent instructor; she was informative without overwhelming us, encouraged us to experiment and play, and kept us laughing throughout the lesson. I could tell that she was comfortable teaching people of all ages and abilities, which is a great asset in an instructor.
Best of all, we walked away with some one-of-a-kind souvenirs.
If you plan to be in Florence and are looking for a fun way to spend an afternoon away from the crowds at the Uffizi and Duomo, I would recommend you contact Francesca Vannini. Tell her Susan, Doris and Deborah said, “Ciao!”

How amazing and beautiful! I am so happy to see how many fun and interesting things you ladies are getting into over there! You are making the BEST memories!! Love and hugs to all!!