
 I’ve been making lots of fabric-covered journals these days.
It started last summer, when I discovered Rachel Hauser’s Stitched in Color blog. She was gearing up for her first-ever fall craft show and devoted a number of posts to the projects she was creating for sale.
I loved her fabric covered journals, and apparently I wasn’t the only one, because Rachel was generous enough to post a tutorial on her site so her devoted readers could create their own journals.
These journals are a perfect project for me — they come together quickly, are designed to cover those inexpensive black and white composition books, are a great way to use up leftover bits and strips of fabric, and are amazingly practical.
As a modern quilter, Rachel uses lots of contemporary, graphic fabrics. I’ve made my journals in a variety of fabric styles, from ocean-colored batiks, to high-contrast red and white, to novelty prints.
I’m currently pulling fabrics from my stash to work on a very special journal cover, one that I will use to record my experiences when I travel to Ireland later this year. I had an idea that I wanted to include some of the “script” fabric that has become quite popular, so after searching in vain at every quilt shop in a 150 mile radius, I decided to let my keyboard do the walking.
I was thrilled when I found the exact fabric I needed on the Hancock’s of Paducah website — a Timeless Treasures fabric called “I love Roses” with French script writing on a cream-colored background. Best of all, it was part of a clearance sale (yay!), so I ordered a yard.
I was expecting something that looked like this:
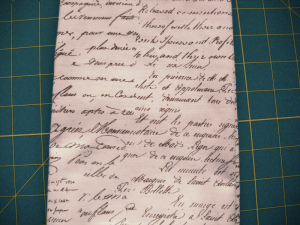
Imagine my surprise when I opened the package and spotted this:

After three email exchanges with Hancock’s of Paducah, they did finally acknowledge that they had sent the wrong item and that their website was incorrect; oh, and they refunded my money for the purchase. But the end result was the same — no French script fabric. Instead, I was stuck with chickens. And god knows, I am too much of a fabric hoarder to ever think about giving it away.
What to do, what to do…
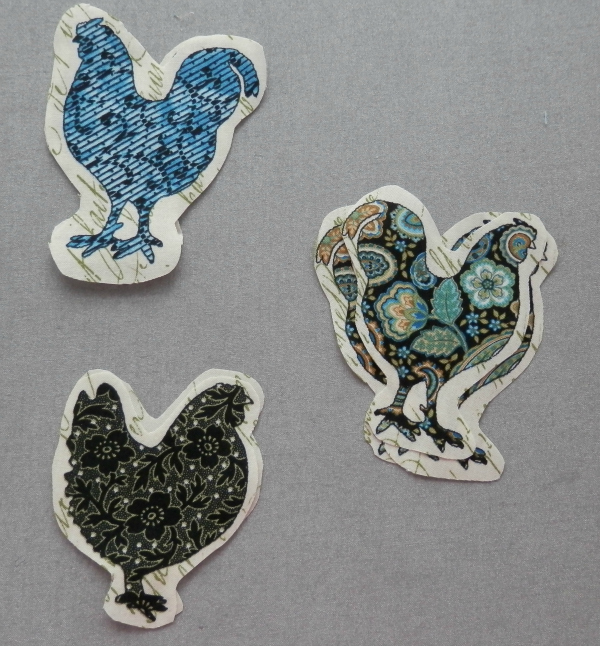
After a couple of days of staring at this fabric, I pulled out my trusty rotary cutter and started separating the strips. I removed the chicken rows and cut around the chicken shapes:
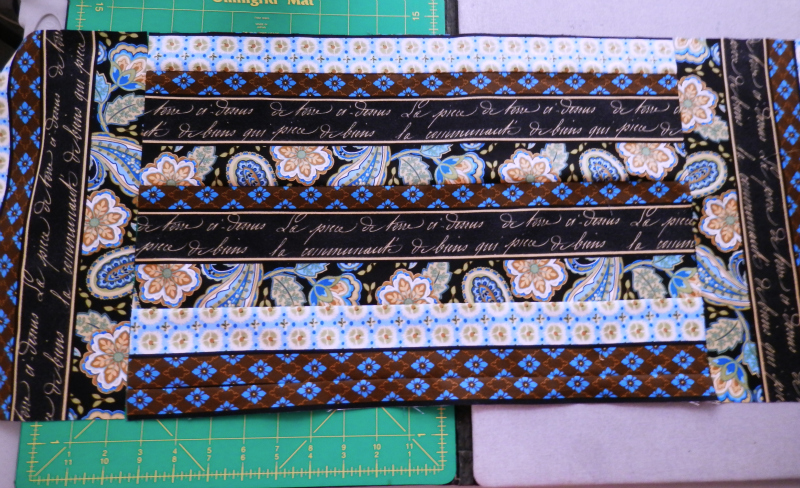
Then I re-assembled the other printed strips in a different arrangement in roughly the width of fabric needed for a journal cover:
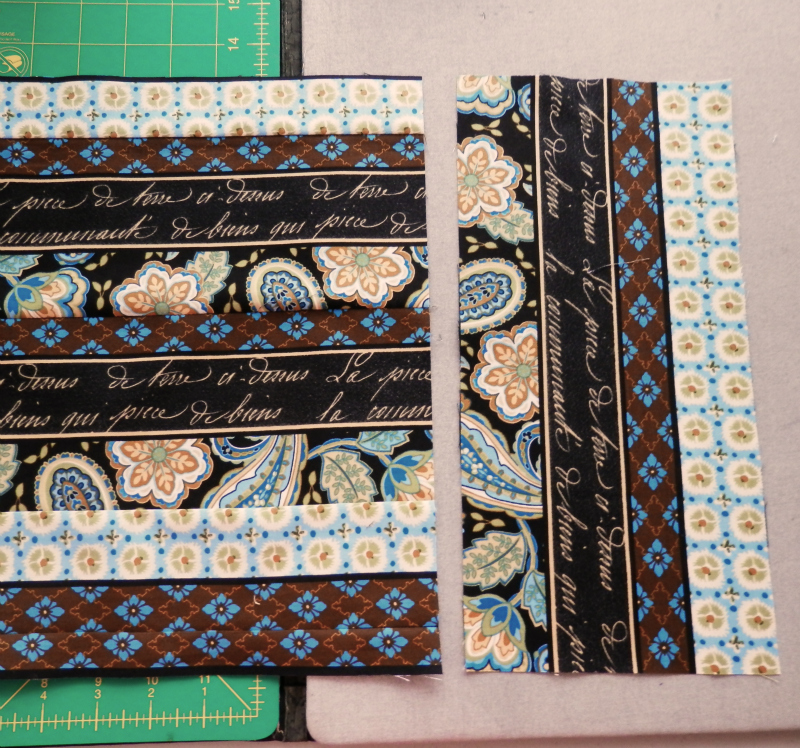
Next, I added strips to each end:
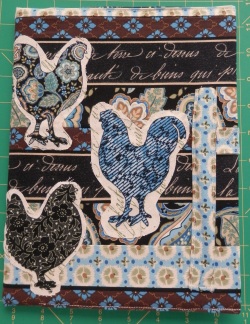
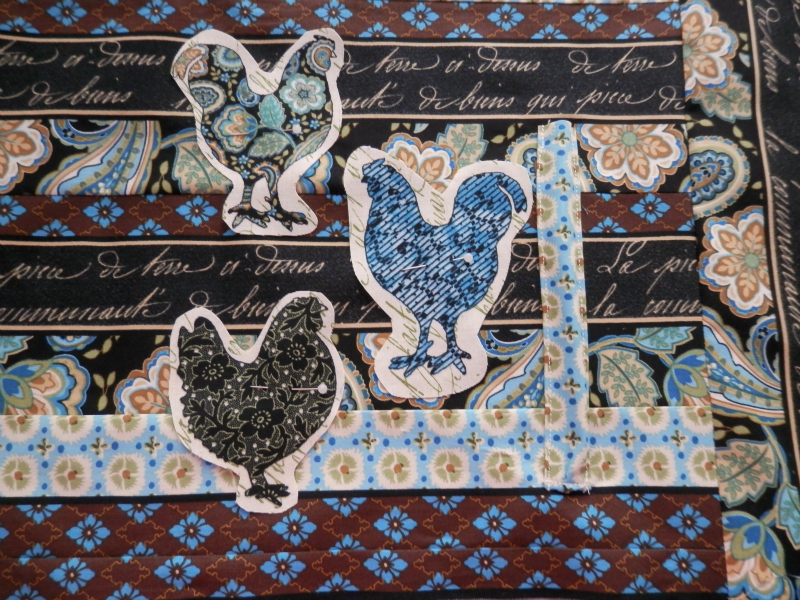
Then, I added a pencil pouch (my own addition to Rachel’s journal cover pattern) and placed the chickens so they would appear on the front of the finished journal:
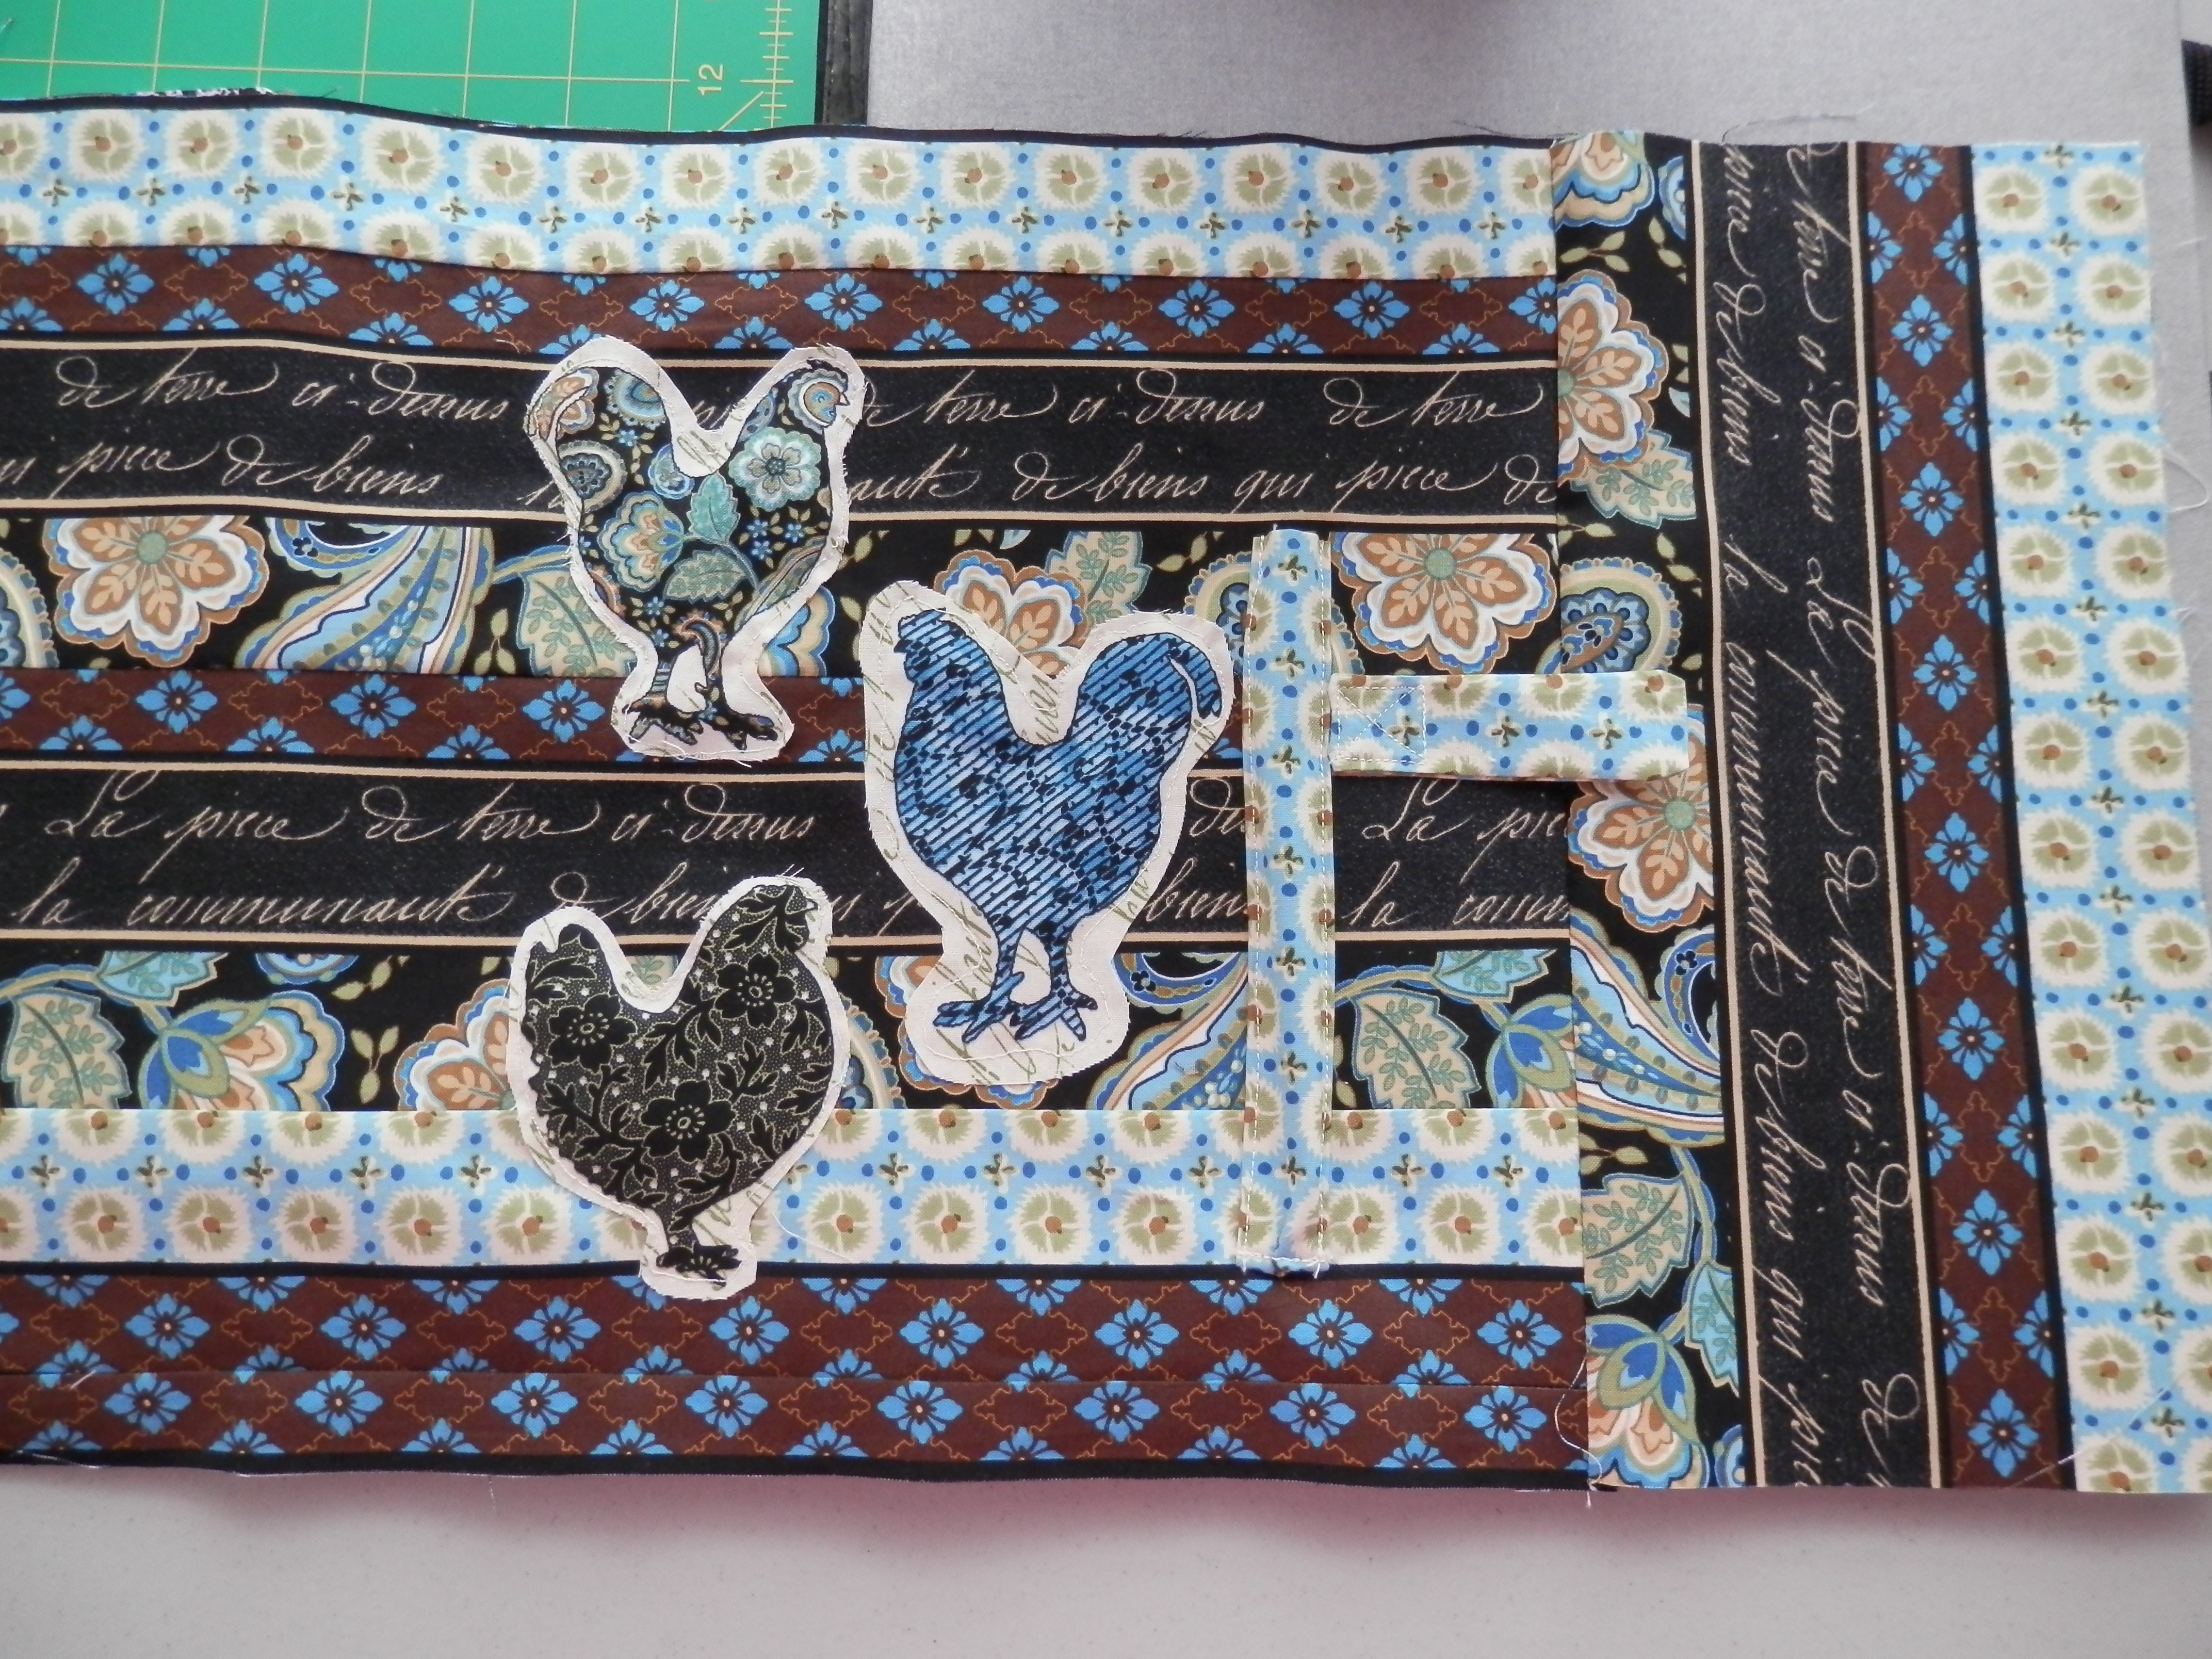
And after machine appliqueing the chickens, I added a closure strip (also my invention) that I would later finish off with Velcro:
Finally, I turned under and stay-stitched the rough edges, sewed the sides as instructed in Rachel’s tutorial, inserted the composition book and added the Velcro to the closure strip and journal back. Here’s the finished result:
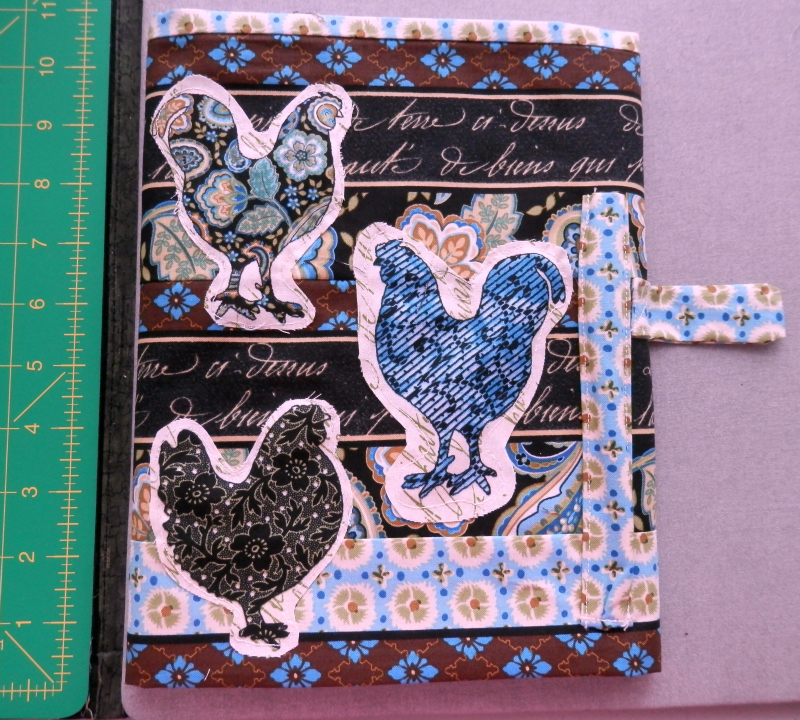
I think it turned out pretty well, and I’m already using it to record recipes and entertainment ideas.
